This tutorial is based on http://www.youtube.com/watch?v=R0dogNWjqw8.
STEPS
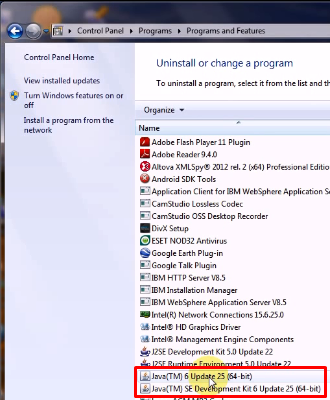
1) Check that you have Java SDK installed into your PC.
1.1) Go to Control Panel\Programs\Programs and Features
The example below shows the Java SDK 6 (64-bit)
2) Download Tomcat Bundle.
2.1) Google Search: tomcat download
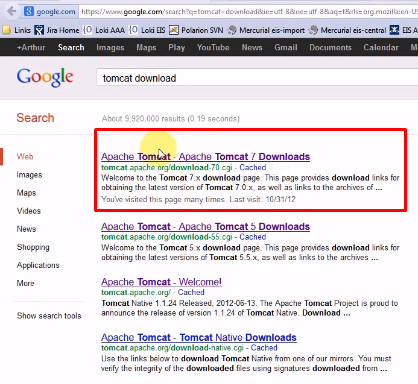
2.2) Go to URL http://tomcat.apache.org/download-60.cgi
Look for hyperlink to Tomcat 6.0

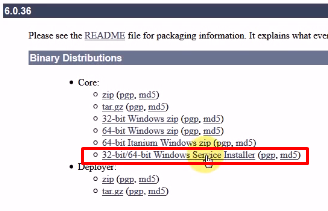
2.3) Download Binary Distributions (Core).
Save to folder C:\JEETutorial.
3) Install Tomcat.
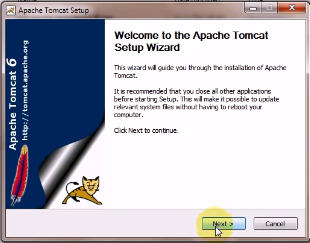
3.1) Run the executable file, apache-tomcat-6.0.36.exe.
3.2) The Setup window appears. Click Next.
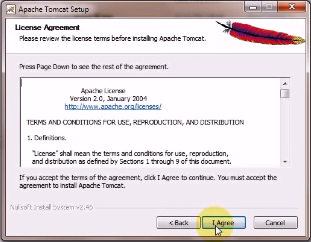
3.3) License Agreement. Click I Agree.
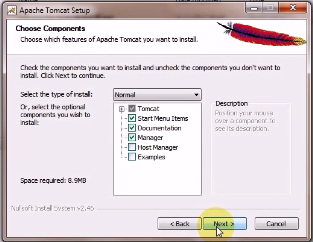
3.4) Apache Tomcat Setup.
By default, Start Menu Items, Documentation and Manager are selected.
Click Next.
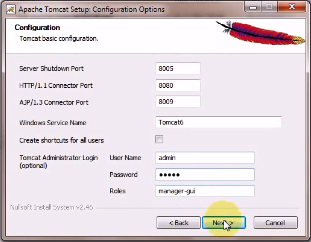
3.5) Apache Tomcat Setup Configuration Options.
Server Shutdown Port: 8005
HTTP/1.1 Connector Port: 8080
AJP/1.3 Connector Port: 8009
Windows Service Name: Tomcat6
Create shortcuts for all users (deselect)
Tomcat Administrator Login:
User Name: (none)
Password: (none)
Roles: manager-gui
Click Next.
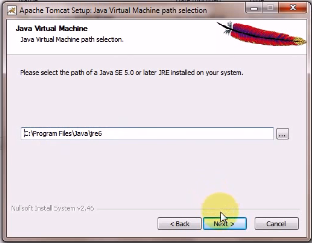
3.6) Java Virtual Machine path selection.
By default, C:\Program Files\Java\jre6
Click Next.
3.7) Install location.
By default, C:\Program Files\Apache Software Foundation\Tomcat 6.0\
Click Install.

3.8) Wait for installation process to complete.
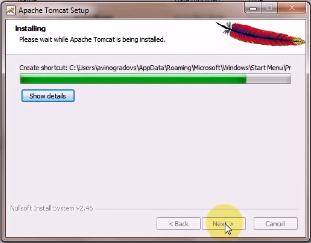
3.9) Installation process completed.
You may deselect the Show Readme option.

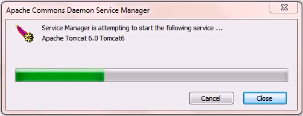
3.10) The Apache Commons Daemon Service Manager runs.
4) Tomcat Manager.
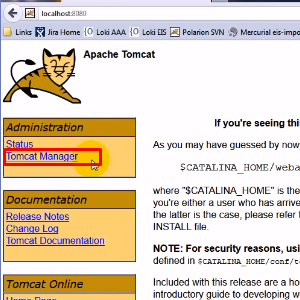
4.1) After Step 3.10 is completed, go to URL http://localhost:8080
Click the hyperlink Tomcat Manager.
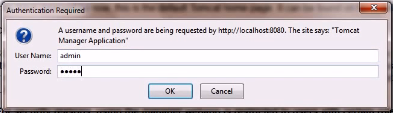
4.2) Login
Enter login credential.
4.3) Manager Application.
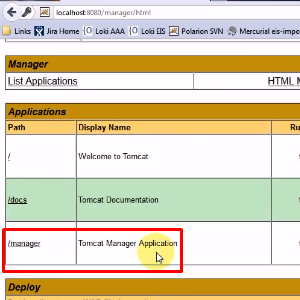
4.4) Deploy Section.

No comments:
Post a Comment