NetBeans 8 Basic Console Input Output [CIO]
STEPS
1) Start NetBeans.
2) Create a new project.
2-1) Select Java Application.
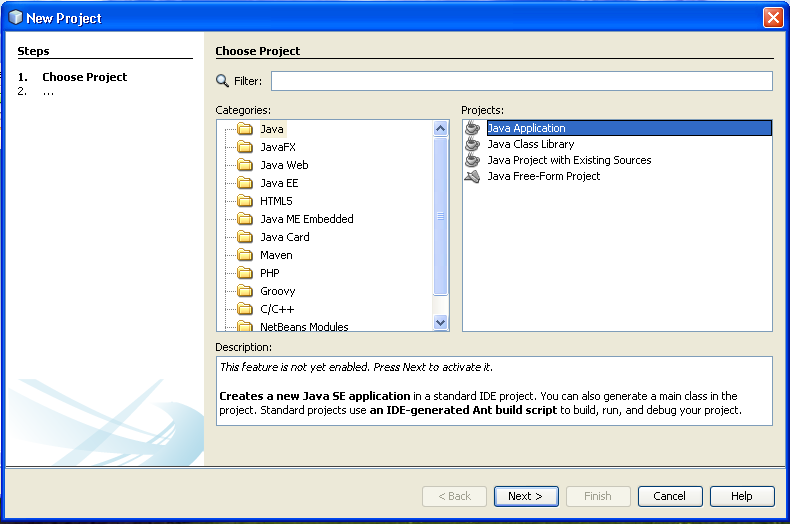
2-2) Type the name MyConsole1.

2-3) Project is created.
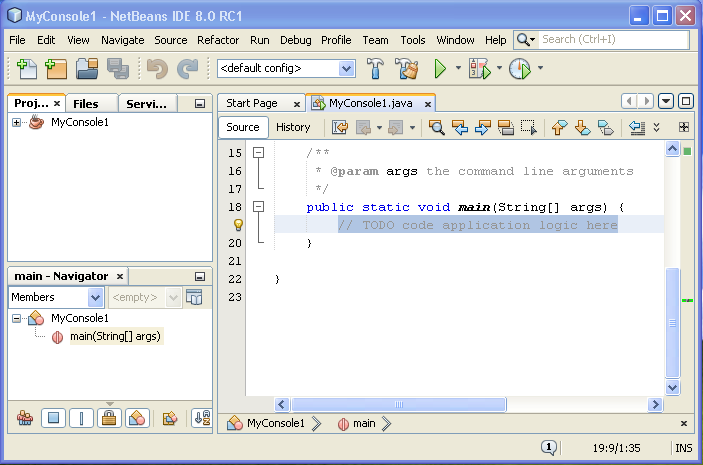
3) Edit Codes
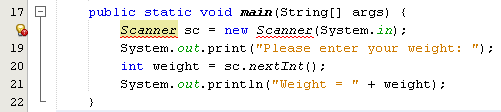
3-1) Replace the line “// TODO …” with the following codes.
Scanner sc = new Scanner(System.in);
System.out.print("Please enter your weight: ");
int weight = sc.nextInt();
System.out.println("Weight = " + weight);
|
Press SHIFT-ALT-F to realign your codes.
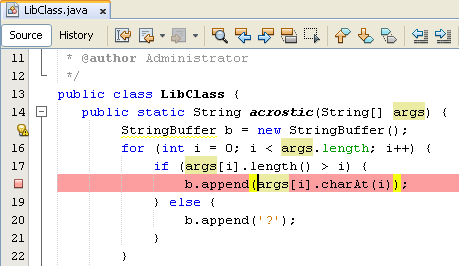
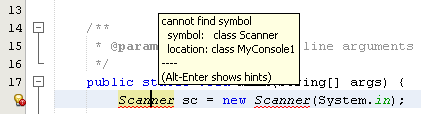
3-2) Notice some syntax errors.
3-3) If you hover your mouse over the red underlined text, you will get some help message.
3-4) Choose “Add import for java.util.Scanner”

3-5) NetBeans add the import line.

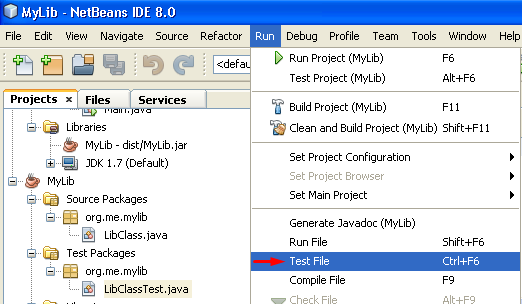
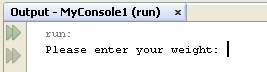
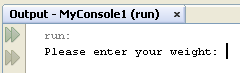
3-6) Run.
3-6-1) You will see the prompt “Please enter your weight:”
3-6-2) Click an area just after the colon, type 60 and press ENTER key.

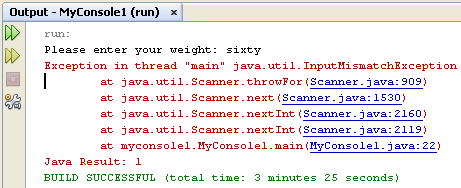
3-7) Run again but this time enter “sixty” instead of a number 60.
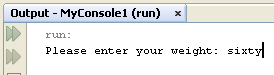
3-8) You will get an error message.
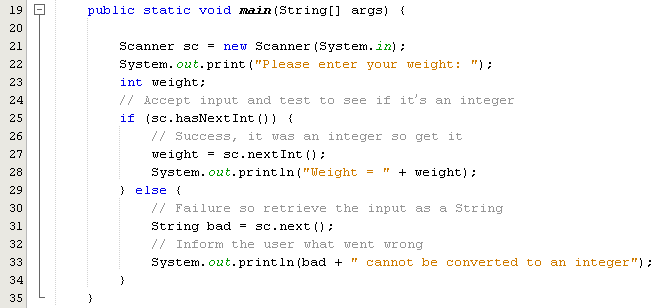
3-9) Replace the codes in Step 3-1.
Scanner sc = new Scanner(System.in);
System.out.print("Please enter your weight: ");
int weight;
// Accept input and test to see if it’s an integer
if (sc.hasNextInt()) {
// Success, it was an integer so get it
weight = sc.nextInt();
System.out.println("Weight = " + weight);
} else {
// Failure so retrieve the input as a String
String bad = sc.next();
// Inform the user what went wrong
System.out.println(bad + " cannot be converted to an integer");
}
|
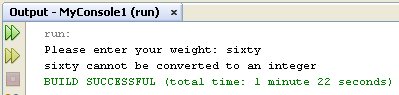
3-10) Run.
3-11) Enter “sixty”.
3-12) Finally, replace the current codes with the following
Scanner sc = new Scanner(System.in);
System.out.println("Select an Account");
System.out.println("A: Savings");
System.out.println("B: Checking");
System.out.println("C: Exit");
System.out.print("Please choose A, B or C: ");
char letter;
if (sc.hasNext("[A-Ca-c]")) {
String choice = sc.next();
letter = choice.toUpperCase().charAt(0);
System.out.println("You chose: " + letter);
String choice = sc.next();
System.out.println(choice + " is not valid input");
}
|
3-13) Outcome:

Source: http://netbeans.dzone.com/nb-class-console-input-regular-exp
---