Java EE 104 Eclipse IDE and Spring STS
This tutorial is based on http://www.youtube.com/watch?v=X8IN5zvLCTI
STEPS
1) Use Eclipse Marketplace wizard.
In Eclipse, go to menu Help/Eclipse Marketplace…

2) Find SpringSource Tool Suite (STS)
2.1) Type the keyword “spring” in the Find field.
2.2) Look for the item matching with your Eclipse version.
2.3) Click Install.

3) Confirm selection.
3.1) Wait for the items to be displayed in the confirm list.
3.2) Click Next to proceed with installation. Restart Eclipse.

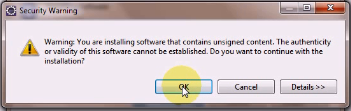
Note: If you get a warning message about unsigned content, just click OK.
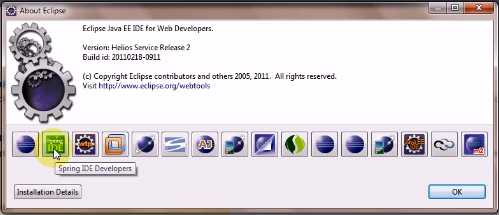
4) Eclipse with SpringSource Tool Suite installed.
4.1) The Welcome screen shows Spring items.

4.2) The Help windows shows the Spring icons.
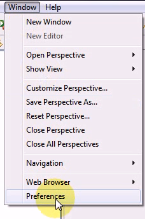
5) Setting Up Web Server.
5.1) Go to menu Windows/Preferences.
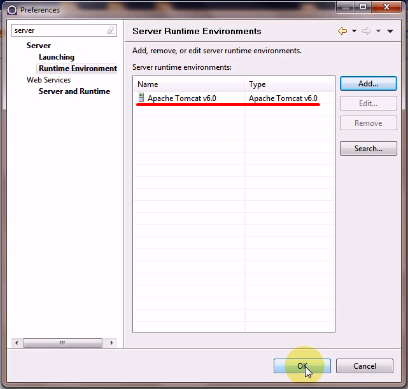
5.2) In the Preferences window, type “server”.
5.3) Find the item Server/Runtime Environments.
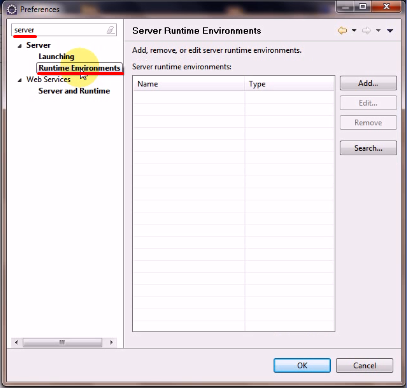
5.4) Click Add…

5.5) Choose your version of Tomcat Server.

5.6) Specify Tomcat (in Step 5.5) installation directory.
5.7) Specify JRE (in this example, we are using a JDK runtime).
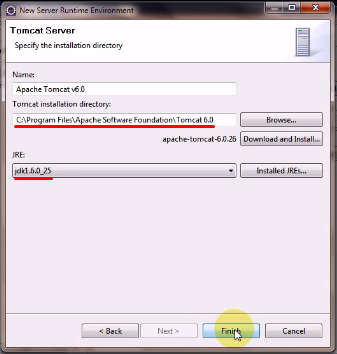
5.8) Finally, the server details is shown in Server Runtime Environment list.
6) Using Server Panel.
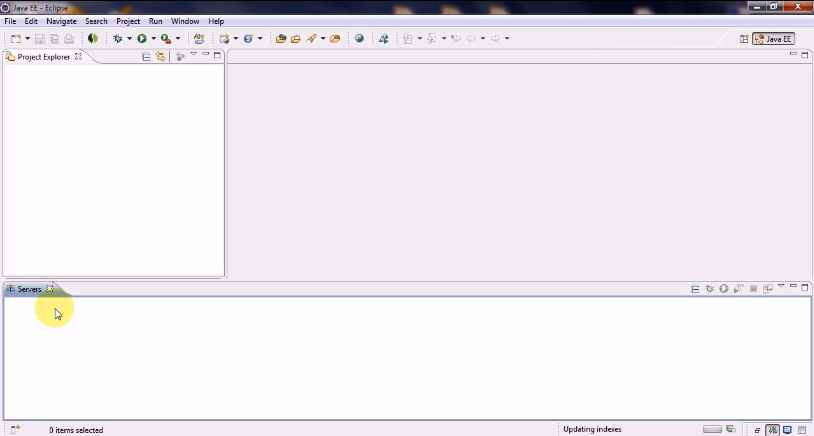
6.1) Go to menu Window/Show View/Servers.

6.2) Eclipse displays Server Panel.
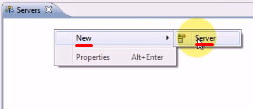
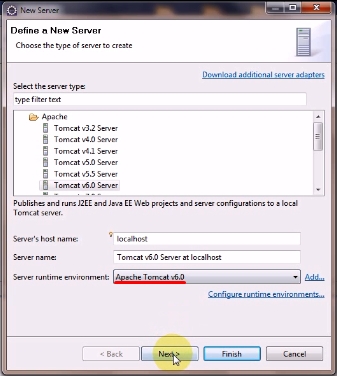
6.3) Add a server to monitor.
Right-click the empty space and select New\Server.
6.4) Select the Server Runtime Environment item that you have created (in Step 5.8)
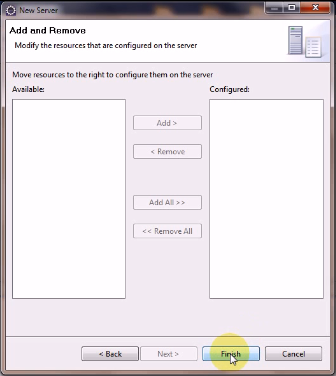
6.5) At the moment we do not have any resource to be configured for this server, so click Finish.
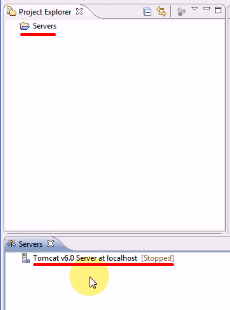
6.6) The server item now appears in the Server and Project Explorer windows.
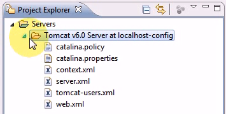
6.7) If you explode the item in the Project Explorer window, you will see some configuration files.
6.8) To run the server, select the item in the Servers window, and click Run button (at the top right of the Servers window).

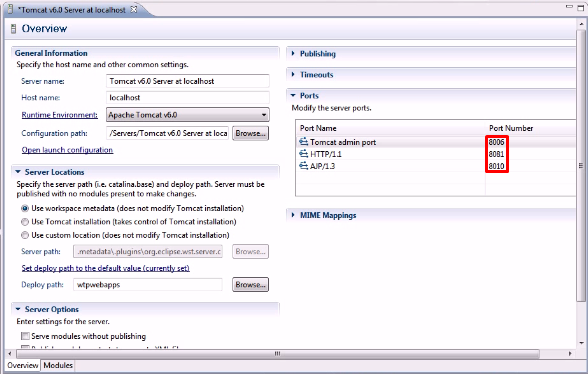
6.9) In some situations, you may have server process conflict problem.
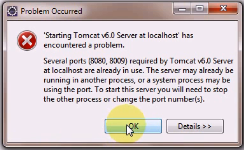
Double-click the server item in the Servers window and try changing the port values.
Save and close this window.
6.10) Restart the server again (to see if Step 6.9 helps to resolve the problem).

No comments:
Post a Comment