NetBeans 8 Developing General Java Applications
Contents
STEPS
1) Start NetBeans.
2) Creating a Java Class Library Project
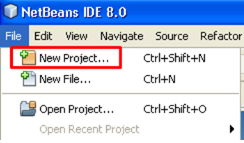
2-1) Choose File > New Project.
2-2) Under Categories, select Java. Under Projects, select Java Class Library. Click Next.

2-3) Specify Name and Location.
Under Project Name, type MyLib. Change the Project Location to any directory on your computer.
From now on, this tutorial refers to this directory as NetBeansProjects.
Note: The path specified above should appear as follows in the Project Folder field of the wizard: /NetBeansProjects/MyLib/
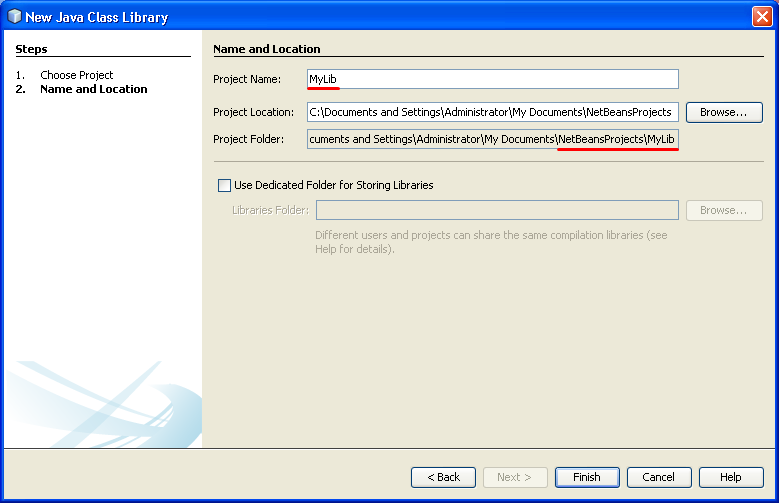
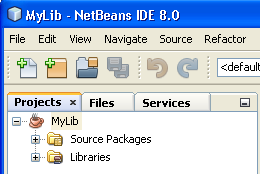
2-4) Click Finish. The MyLib project opens in both the Projects window and the Files window.
3) Creating a Java Application Project
3-1) Choose File > New Project. Under Categories, select Java. Under Projects, select Java Application. Click Next.

3-2) Under Project Name, type MyApp. Make sure the Project Location is set to NetBeansProjects.
Enter acrostic.Main as the main class.
Ensure that the Create Main Class checkbox is checked.
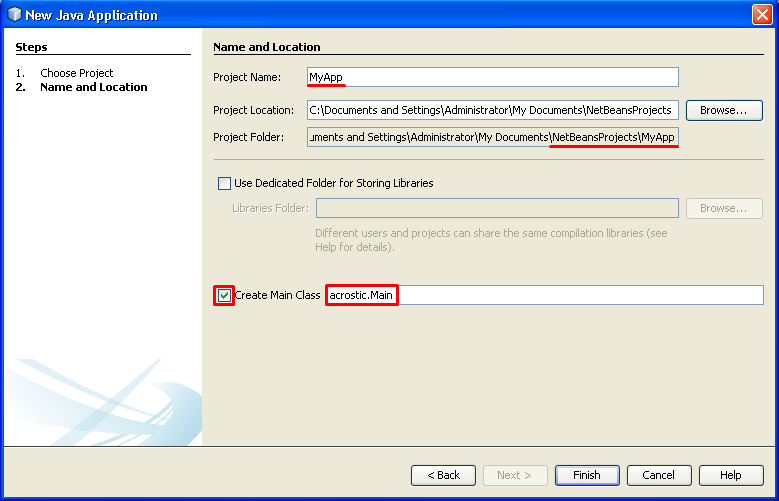
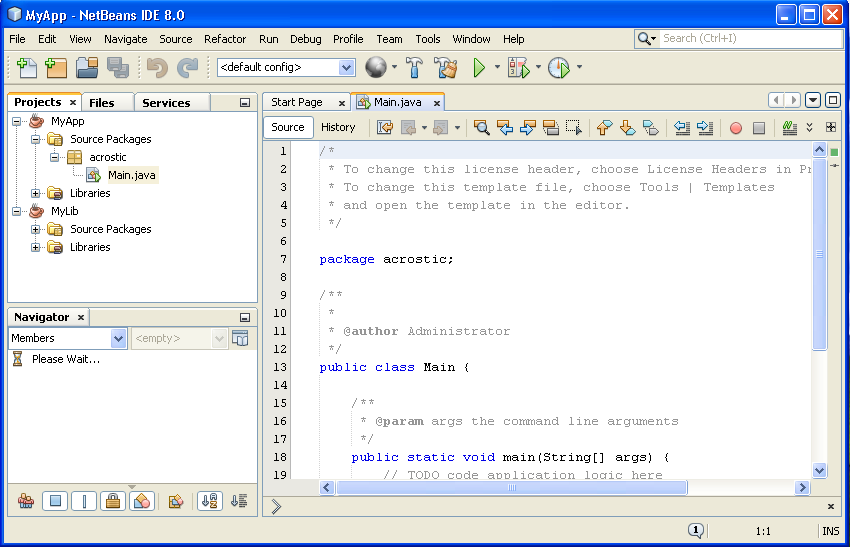
3-3) Click Finish. The MyApp project is displayed in the Project window and Main.java opens in the Source Editor.
4) Configuring the Compilation Classpath
Since MyApp is going to depend on a class in MyLib, you have to add MyLib to the classpath of MyApp.
Doing so also ensures that classes in the MyApp project can refer to classes in the MyLib project without causing compilation errors.
In addition, this enables you to use code completion in the MyApp project to fill in code based on the MyLib project.
In the IDE, the classpath is visually represented by the Libraries node.
4-1) To add the library's utility classes to the project classpath:
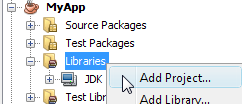
4-1-1) In the Projects window, right-click the Libraries node for the MyApp project and choose Add Project as shown in the image below.
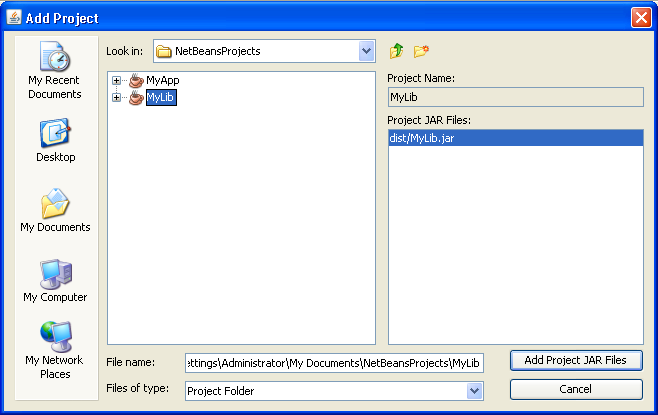
4-1-2) Browse to NetBeansProjects/ and select the MyLib project folder.
The Project JAR Files pane shows the JAR files that can be added to the project. Notice that a JAR file for MyLib is listed even though you have not actually built the JAR file yet. This JAR file will get built when you build and run the MyApp project.
4-1-3) Click Add Project JAR Files.
4-1-4) Expand the Libraries node. The MyLib project's JAR file is added to the MyApp project's classpath.

5) Creating and Editing Java Source Code
5-1) Creating a Java Package and Class File
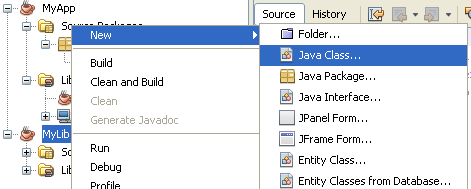
5-1-1) Right-click the MyLib project node and choose New > Java Class.
5-1-2) Type LibClass as the name for the new class, type org.me.mylib in the Package field, and click Finish.

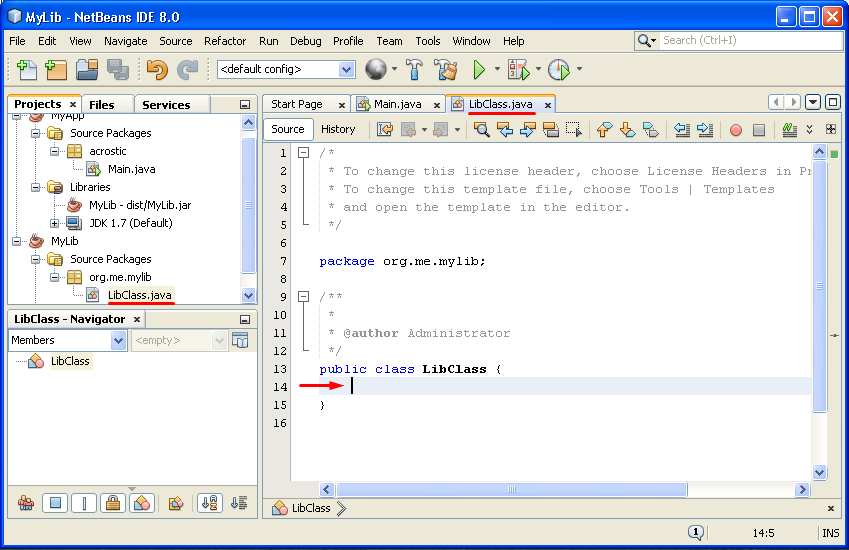
5-1-3) LibClass.java opens in the Source Editor.
5-1-4) In LibClass.java, place the cursor on the line after the class declaration public class LibClass {.
5-1-5) Type or paste in the following method code:
public static String acrostic(String[] args) {
StringBuffer b = new StringBuffer();
for (int i = 0; i < args.length; i++) {
if (args[i].length() > i) {
b.append(args[i].charAt(i));
} else {
b.append('?');
}
}
return b.toString();
}
|

5-1-6) If the code that you pasted in is not formatted correctly, press Alt-Shift-F to reformat the entire file.
5-1-7) Press Ctrl-S to save the file.
5-2) Editing a Java File.
Now you will add some code to Main.java. In doing so, you will see the Source Editor's code completion and code template (abbreviation) features.
5-2-1) Select the Main.java tab in the Source Editor.
If it isn't already open, expand MyApp > Source Packages > acrostic in the Projects window and double-click Main.java.
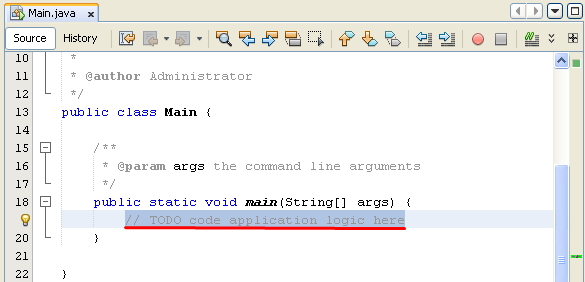
5-2-2) Delete the // TODO code application logic here comment in the main method.
5-2-3) In place of the comment type the following:
String result = Li
|

5-2-4) Leave the cursor immediately after Li. In the next step you will use code completion to turn Li into LibClass.
5-2-5) Press Ctrl-Space to open the code completion box.
A short list of possible ways to complete the word appears. However, the class that you want, LibClass might not be there.
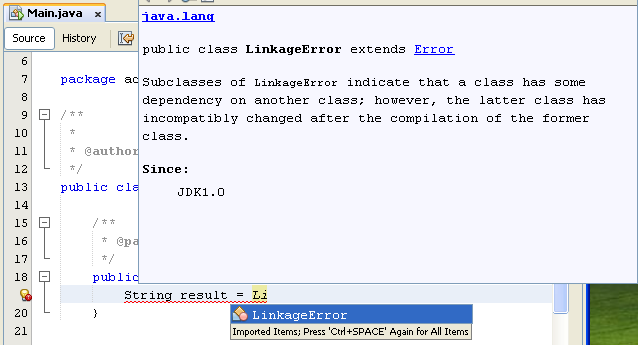
5-2-6) Press Ctrl-Space again to display a longer list of possible matches.
LibClass should be in this list.

5-2-7) Select LibClass and press Enter. The IDE fills in the rest of the class name and also automatically creates an import statement for the class.

5-2-8) In the main method, type a period (.) after LibClass. The code completion box opens again.
Select the acrostic(String[]args) method and press Enter. The IDE fills in the acrostic method and then highlights the args parameter.

5-2-9) Press Enter to accept args as the parameter.
5-2-10) Type a semicolon (;).
The final line should look like the following line.
String result = LibClass.acrostic(args);
|

5-2-11) Press Enter to start a new line. Then type sout and press Tab.

5-2-12) The sout abbreviation expands to System.out.println(""); with the cursor positioned between the quotation marks.

5-2-13) Type “Result =” (inside the quotation marks) and + result after the end quotation mark.
The final line should look like the following line.
System.out.println("Result = " + result);
|

5-1-14) Press Ctrl-S to save the file.
Note: sout is one of many code templates that are available in the Source Editor. To find and edit the list of code templates, choose Tools > Options > Editor > Code Template.
|
6) Compiling and Running the Application
Now you need to set the main class and execution arguments so that you can run the project.
Note: By default, the projects have been created with the Compile on Save feature enabled, so you do not need to compile your code first in order to run the application in the IDE. For more information, see Compiling a Single Java File in Developing Applications with NetBeans IDE.
|
6-1) Setting the Main Class and Execution Arguments
The output of this program is based on arguments that you provide when you run the program.
As arguments, you will provide five words, from which the acrostic "Hello" will be generated.
The acrostic is assembled from the first letter of the first word, the second letter of the second word, the third letter of the third word, and so on.
To add the arguments for the IDE to use when running the application:
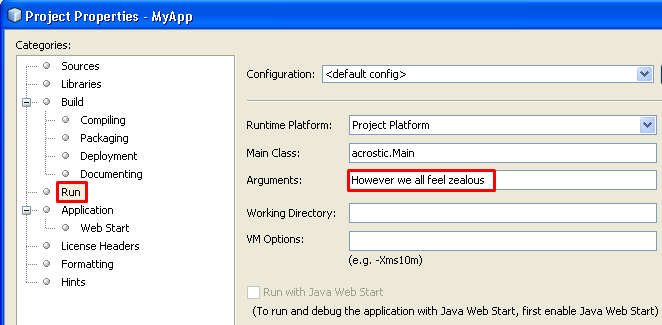
6-1-1) Right-click the MyApp project node, choose Properties, and select the Run node in the dialog's left pane.

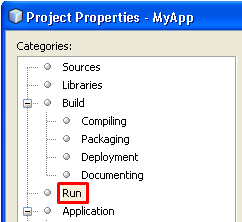
6-1-2) The main class should already be set to acrostic.Main.
6-1-3) Type However we all feel zealous in the Arguments field and click OK.

6-2) Running the Application
Now that you have created the application and provided runtime arguments for the application, you can test run the application in the IDE.
To run the application in the IDE:
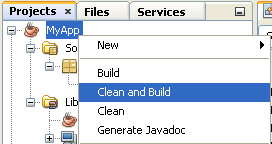
6-2-1) Right-click the MyApp project node and choose Clean and Build.
6-2-2) Choose Run > Run Project (F6).

6-2-3) In the Output window, you should see the output from the program, Result = Hello (the acrostic of the phrase that was passed to the program as an argument).

DOWNLOAD: Completed Project File
-
---
No comments:
Post a Comment