STEPS
1) Start NetBeans
2) Create New Java Projects.
2-1) Go to Menu Bar. Select File/New Project…

2-2) Select Java (Categories) and Java Application (Projects).
Click Next.

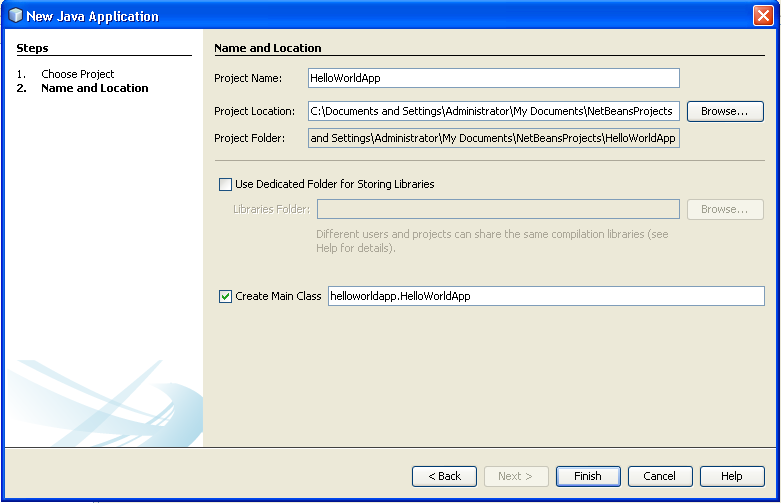
2-3) Project Name and Location options.
In the Project Name field, type HelloWorldApp.
Leave the Use Dedicated Folder for Storing Libraries checkbox unselected.
In the Create Main Class field, type helloworldapp.HelloWorldApp.
2-4) Project creation is done.
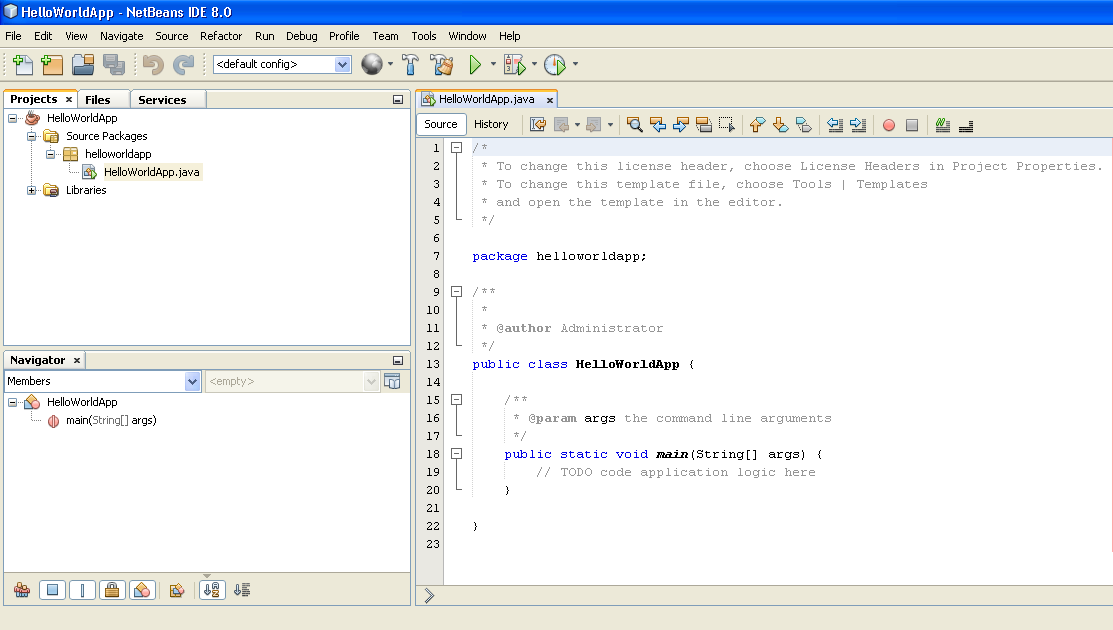
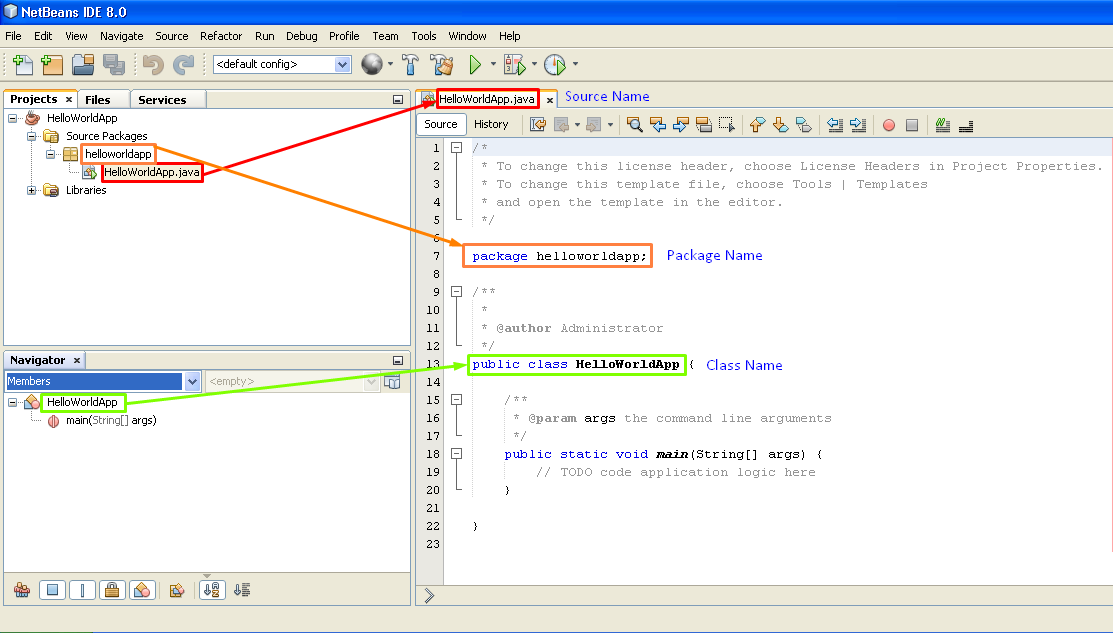
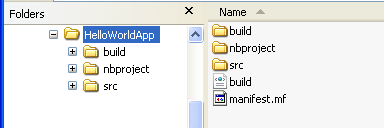
2-5) Observe the Project Structure.
3) Add codes to Source File.
3-1) Change Line no. 19 as follows.
/*
* To change this template, choose Tools | Templates
* and open the template in the editor.
*/
package helloworldapp;
/**
*
* @author <your name>
*/
public class HelloWorldApp {
/**
* @param args the command line arguments
*/
public static void main(String[] args) {
System.out.println("Hello World!");
}
}
|
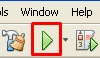
4) Run.
4-1) Click Run button.
4-2) Observe outcome in Output Window.

4-3) Check the physical location of your files.
5) Distribute the project as application.
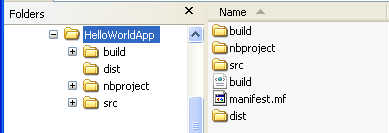
5-1) Click Build button.

5-2) A new folder “dist” is created in your project folder.
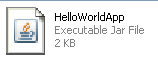
5-3) There is a jar file “HelloWorldApp”
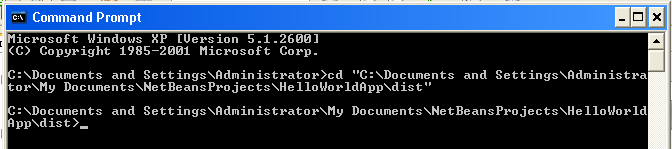
5-4) Copy the path to this folder.

5-5) Run Command Window and Change Directory to the path above.
i.e. “cd C:\Documents and Settings\Administrator\My Documents\NetBeansProjects\HelloWorldApp\dist”
5-6) Run the jar file.
i.e “java –jar HelloWorldApp.jar”
You should get the output “Hello World!”

Source: https://netbeans.org/kb/docs/java/quickstart.html
---
No comments:
Post a Comment